Preparing your scooter for the riding season
If you winterized your bike properly, prepping it for the riding season should be pretty simple. Many of the steps below can be skipped if you covered them when you put the bike away. Don’t be intimidated, it’s all pretty simple and not everything will apply to your scooter. Items with an asterisk (*) only apply to some scooters.
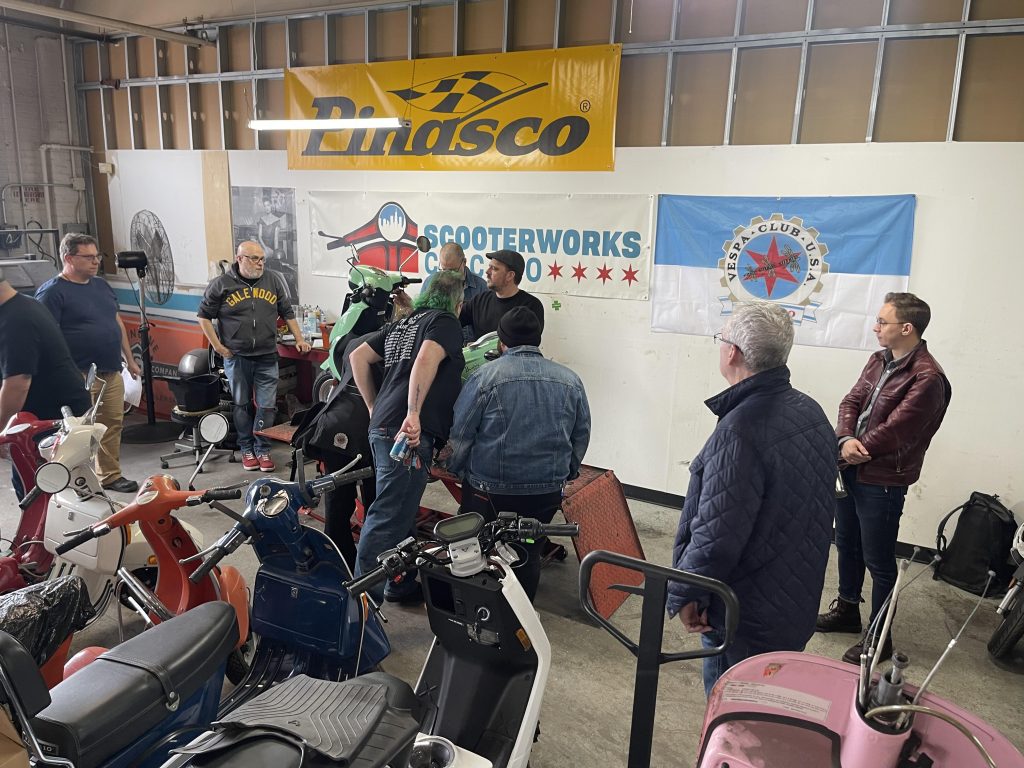
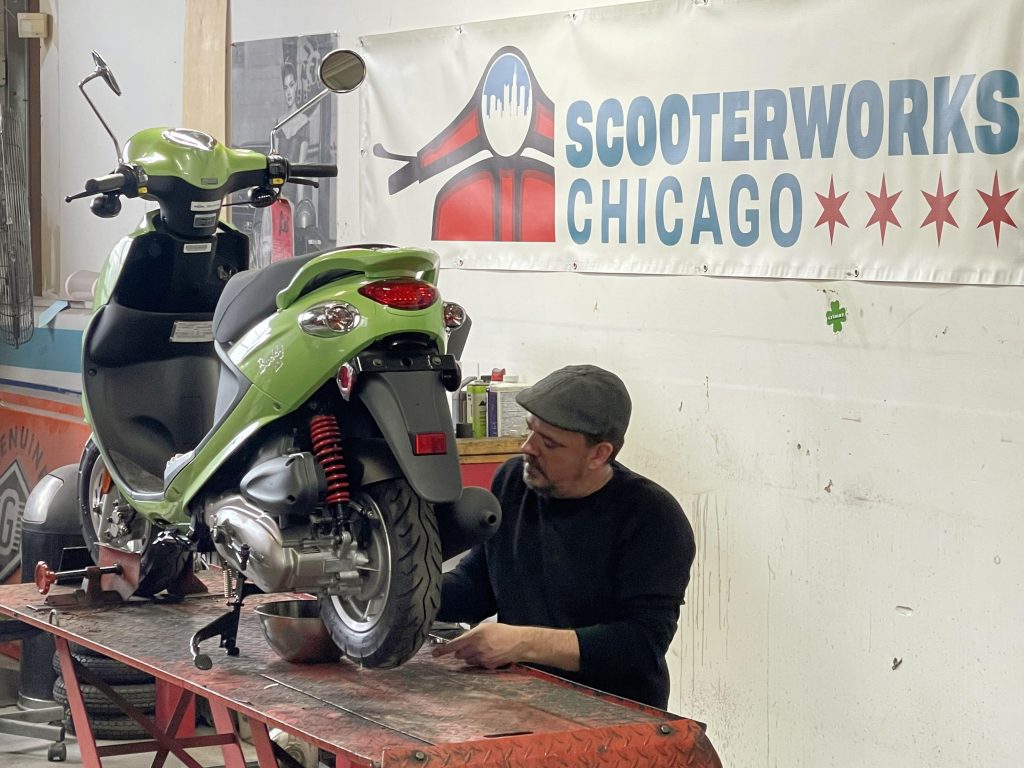
I’ve updated this after our March 16 Garage Day with a few tips from Ken Kolanowski in blue. and some photos of the event from Benjamin Lee. Here’s a PDF of the handout from the event (a pared-down version of this guide).
Gearbox oil
Gearbox oil (not to be confused with 2-stroke oil, see below) lubricates your internal engine components. Your gearbox oil may be specified as “gear oil” or “engine oil;” both have different ratings and qualities, but they’re somewhat interchangeable if you translate the ratings properly. (more info and a comparison chart here). Any quality name-brand oil that’s the proper specification (in the manual) is going to be just fine, but avoid mixing mineral and synthetic oils.
It’s very important to use non-detergent (usually mineral) oil for vintage scooter gearboxes. Detergents cause the clutch to slip.
Read your manual to determine what type of oil to use, how much you need, and how often to check it and/or change it. Look for YouTube videos that demonstrate the procedure for your model. We won’t go through the procedure, it varies quite a bit from scooter to scooter.
Be very careful to not cross-thread or over/under-tighten the oil drain/fill bolts, the engine case is soft metal, so it’s easy to strip the threads. You definitely don’t want your oil drain bolt falling out while riding. Also don’t overfill the oil, too much can be worse than not enough. Ken says: Be careful removing the spring-loaded sediment basket on modern scooters, and note how it goes back together. Consider a magnetic drain plug to check for metal in your gearbox. A little bit of metal flake is normal, even on a brand new scooter, but if the oil is shiny, there’s likely a problem.)
Replace fiber washers each oil change. Metal washers can generally be reused if they’re in good condition. (Ken says: modern metal washers can be reused if there are no visual signs of wear and compression. Ken recommends copper washers to replace the fiber washers on vintage scooters.)
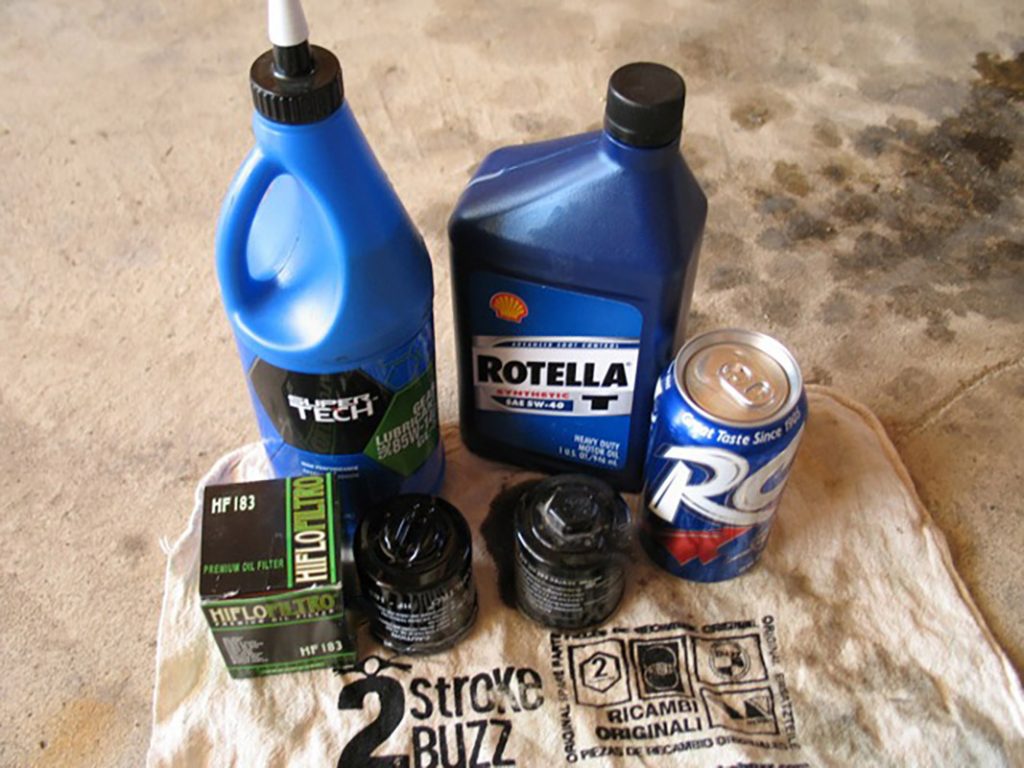
Oil filter:*
(Modern scooters) Replace at recommended intervals. Note the two different oil filters shown in the photo. If your scooter uses this type, they’re functionally interchangeable, but you might find either the “hex” or “slot” version easier to work with depending on the tool you use. Be sure to remove the old rubber gasket and use the new one (included with the filter). Ken says: remember to coat the gasket with engine oil to form a better seal, and to make it easier to remove next time. It’s generally not necessary to ‘prime’ the filter but be sure to check the level after the engine has run and oil has filled the filter.
2-stroke Oil:*
(Vintage scooters) If your scooter has a 2-stroke engine, you’ll also need 2-stroke oil (aka “2T” from the French “deux temps”). On most older bikes (until late 60s) it’s measured at the correct ratio, and poured directly into the gas tank at every fill-up. On newer models (and some modern 50cc scooters), there’s a 2-stroke oil tank (not to be confused with the gas tank or engine oil filler hole!) that automatically mixes 2-stroke oil with the gas. Unlike engine oil, 2-stroke oil is burnt away with the gas as your engine runs, so it must be added regularly.
Again, any decent brand-name 2-stroke oil will work fine. (Avoid cheapo generic lawnmower oil unless you’re in a pinch.) Mixing brands or synthetic/mineral will not irreparably damage your scooter, but it’s a lot cheaper to buy 2-stroke oil by the gallon, and committing to a single brand will give you consistent results. Ken says: Scooterworks will refill your 1-quart 2-stroke or engine oil bottles with Genuine-brand oil for $1 off, to keep the oil bottles out of landfill. Great deal!
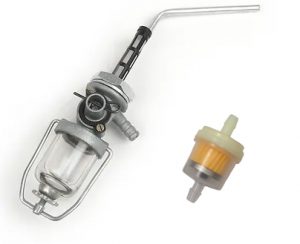
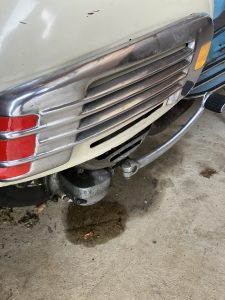
Fuel Filter and Fuel System
Check and clean or replace your fuel filter if necessary. Make sure it’s installed in the correct direction to permit fuel flow. Inspect the fuel line to ensure it’s not dried or cracking. If you disconnected your fuel line over the winter, re-connect it. (At right: a vintage Vespa fuel tap with a glass sediment bowl — when was the last time you cleaned yours?) — and a typical modern fuel filter. If you don’t have either, it’s smart to install one!)
If your gas is more than a few months old, and not Stabil-ized, mix it with fresh gas and dump it in your car or lawnmower tank.
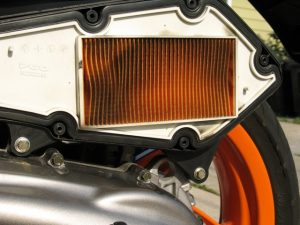
Airbox/Filter:
Remove any critter-proofing you did for the winter and check the airbox, exhaust and any other empty spaces for critters. Check/clean/replace the air filter if necessary Some can be blown clean with compressed air, some can be cleaned with solvents, check your manual. Ken says: tipping the scooter on its side, or other issues can fill your air filter with gas or oil, and a wet filter can’t breathe. If there’s more than a small spattering of oil or gas in your airbox, you should have the scooter checked out.
Coolant:*
(Liquid-cooled scooters only) Check level and top off if necessary, or drain and replace at specified interval with the specified coolant.
Disc Brakes:*
Check and top off brake fluid if necessary.
Check for proper lever reach, check hoses for wear or leaks, and check wear of pads and disc, clean with brake cleaner, repair or replace components if necessary
Note that both brake fluid and brake cleaner are very corrosive and will destroy paint and plastic on contact. Use carefully.
Drum Brakes:
Check levers for proper reach, check brake shoes and drums, clean (carefully, see above) with brake cleaner if necessary, and adjust cables. Ken says: Most Vespas with 10″ wheels have a screw on the hub that can be removed to check the shoe wear,

Cables:
Check throttle/clutch*/shift*/brake cables and levers
Adjust and lubricate as necessary for proper tension, free play, and smooth operation. Levers (and the throttle) should have a bit of play before they engage, and should be fully engaged before they bottom out.
Battery:*
Charge and check capacity and voltage with a hydrometer and/or voltmeter.
Inspect it for cracks, leaks, or bloating. dust it off, and clean/grease the terminals if necessary.
If it’s damaged, leaking, or not holding a charge, replace it with a new high-quality name-brand battery.
Lights:
Confirm all bulbs are working (even the speedometer!) and that brake lights and turn signals operate properly. Check your horn as well.
Tires/Wheels:
Check air pressure. Ken says: even a pound or two of variance can cause handling problems. Check frequently, and consider changing from spec a couple pounds if you’re on the heavy side, carrying a passenger, or carrying a lot of cargo.
Check tread wear, manufacturer date code (replace if several years old), and condition (dry rot/cracking/flat spots).
Check that your valve stems aren’t pinched or twisted, valve caps are in place, all lug nuts are in place, and tight, and that the wheels and wheel bearings are in good condition.
Leaks:
Check all over for leaks. If any are found, clean up, then find and repair the source. Ken says: If a vintage scooter isn’t leaking, it probably has no oil in it. But it shouldn’t be excessive.
Cleaning:
Clean and wax the bike, and polish any chrome/aluminum. Ken says: Cleaning is important to protect the finish, but it’s also important to help find and diagnose any leaks or other problems
DO NOT use Armor-All on the grips/seat/tires (They’ll get slippery!), or Windex or Armor-All on clear plastic (it’ll damage your windscreen/visor/lights).

Other things to check:
Sparkplug: clean, adjust the gap, maybe replace it if it’s been a while. Your plug should be dry, and brown or gray, without any notable wear. A wet, black, or white plug indicates a problem. Always carry a spare and a gapping tool.
Helmet and riding gear: clean, check, and replace if old or damaged. Charge any electronics and check mounts and accessory wiring.
Paperwork: Keep your title in a safe place at home (NOT with the bike). Keep your registration card (or a copy) in the bike, and copies of your insurance card in your bike AND in your wallet (check that expiration date!)
License plate, city tag, and registration decal: Be sure all are up-to-date and theft-proofed. Plate, sticker, and city tag theft are reasonably common in Chicago. Cut an “X” in the plate decal to prevent theft, and use theft-resistant nuts and bolts. Most stock license plate bolts can be removed in seconds with a screwdriver.
Roadside Assistance: Keep any necessary info in the bike AND on your phone.
Check your toolbox and make sure you have the necessary spares and tools to be prepared for emergency roadside repairs.
After everything is dialed in, take a relaxed 10-20 minute ride to warm up the bike and get a feel for any adjustments you’ve made. Stay close to home and out of traffic, at least at first, until you’re sure all systems are go. When you return home, check again for leaks and loose nuts and bolts. As you clean up, be sure to responsibly dispose of batteries, oils, and other chemicals.